OpenCV is a open source software package for doing Image Processing tasks easier. It is possible to install the OpenCV for Raspberry Pi and use it in your own camera projects. So let’s try to install it to the Raspberry Pi and try to use it with the Raspberry Pi camera. The more detailed instructions can be found for example from Adrian Rosebrock’s website. https://www.pyimagesearch.com/2016/04/18/install-guide-raspberry-pi-3-raspbian-jessie-opencv-3/ I will try to install it according to the instructions located over there.
FIrst, setup your raspberry pi with the Noobs install. Then do the sudo apt-get update && upgrade as usual to make sure that latest packages are installed.
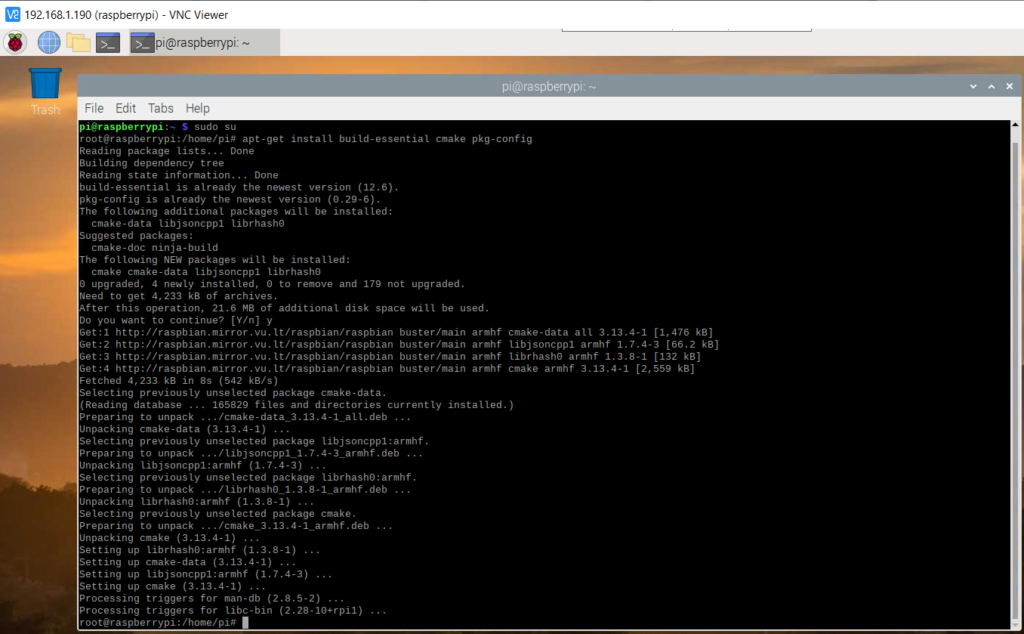
Then continue to download and install the OpenCV dependencies and sources. Here are the used commands for that:
sudo apt-get install build-essential cmake pkg-config
Then continue and install more packages:
sudo apt-get install libjpeg-dev libtiff5-dev libjasper-dev libpng12-dev
sudo apt-get install libavcodec-dev libavformat-dev libswscale-dev libv4l-dev
sudo apt-get install libxvidcore-dev libx264-dev
sudo apt-get install libgtk2.0-dev
sudo apt-get install libatlas-base-dev gfortran
sudo apt-get install python2.7-dev python3-dev
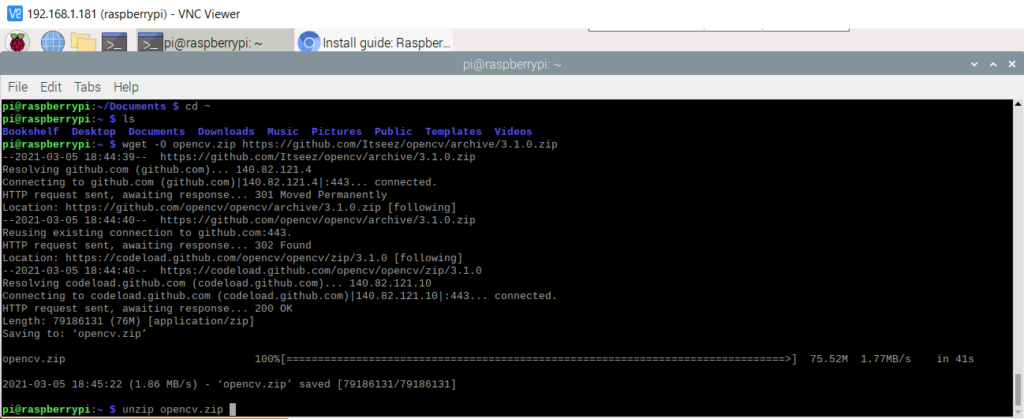
cd ~
wget -O opencv.zip https://github.com/Itseez/opencv/archive/3.1.0.zip
unzip opencv.zip
wget -O opencv_contrib.zip https://github.com/Itseez/opencv_contrib/archive/3.1.0.zip
unzip opencv_contrib.zip
Then continue and check the python pip install.
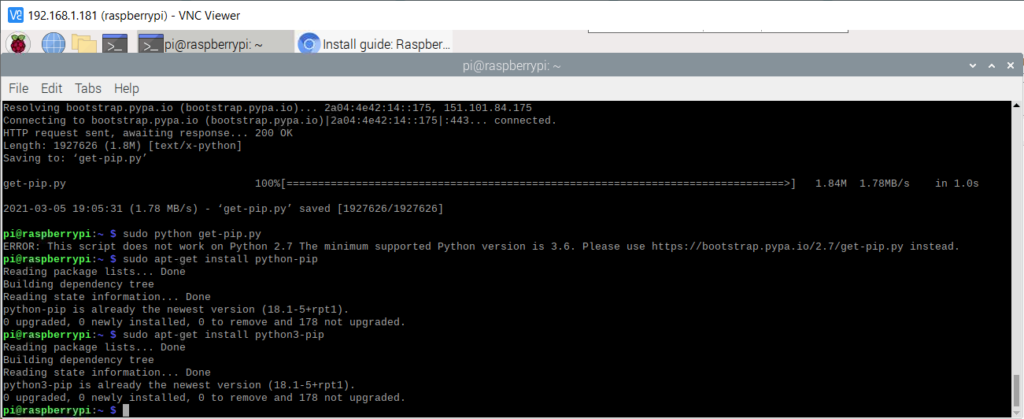
Make sure you got python pip installed. Instructions how to install it, might have varied during the years. And there is multiple versions of the Python available, so need to be careful and just see what happens.
Then it would be good to learn how to use the virtualenv for the python.
sudo pip install virtualenv virtualenvwrapper
sudo rm -rf ~/.cache/pip
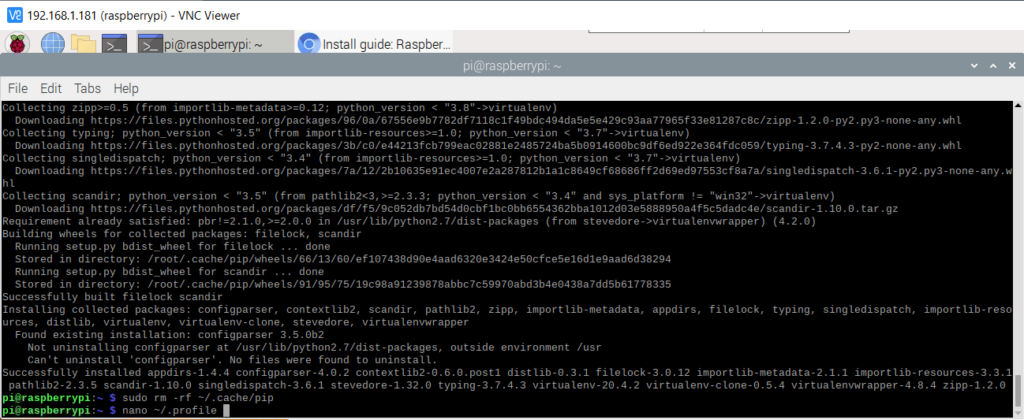
Add These lines to the bottom of the file ~/.profile, by using for example nano text editor.
# virtualenv and virtualenvwrapper
export WORKON_HOME=$HOME/.virtualenvs
source /usr/local/bin/virtualenvwrapper.sh
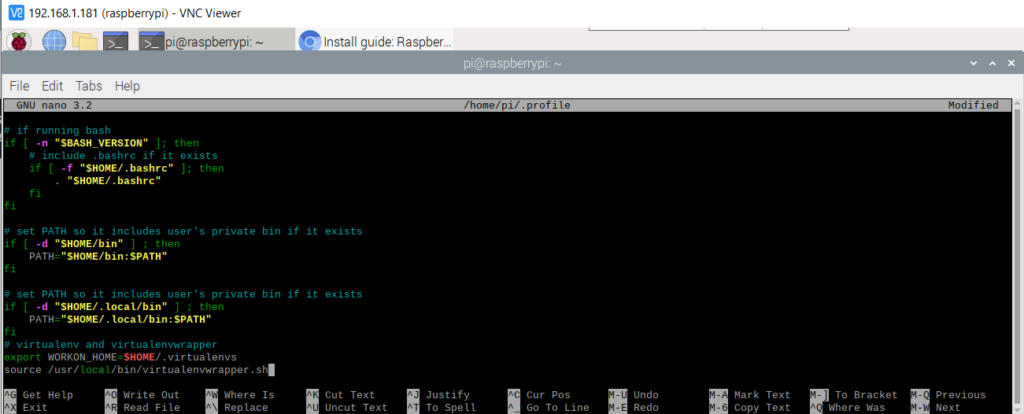
Ctrl and x quits and asks to save the file, press y and enter and enter, to save it.
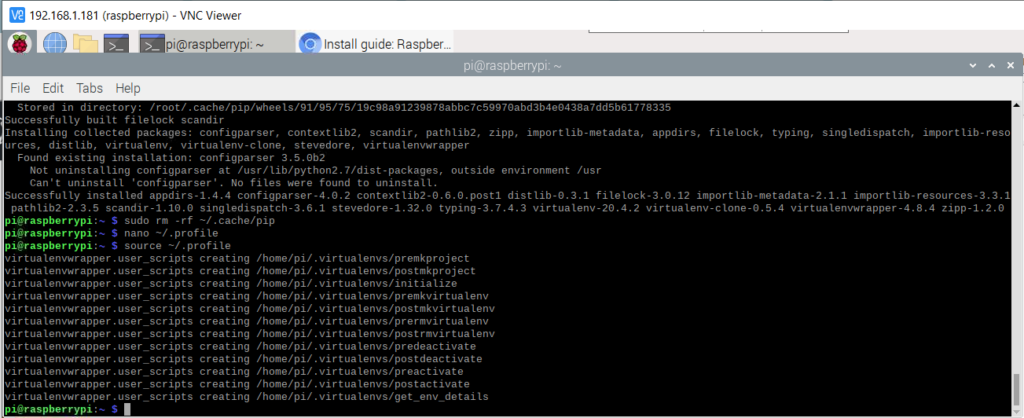
Then you need to log in and out, or you can try give command;
source ~/.profile
Then make the virtual environment “cv” and start using it: (using python 2.7):
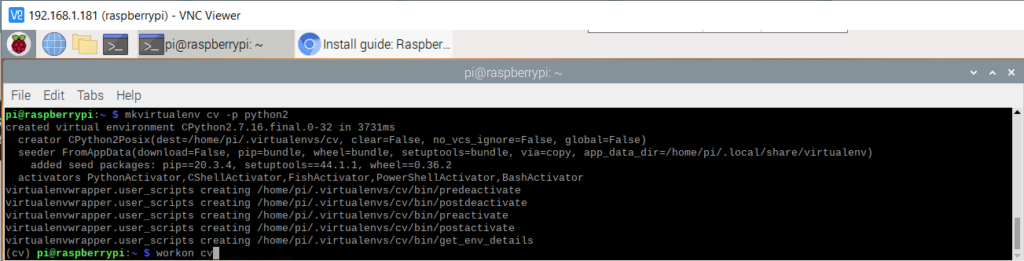
Remember to use these two commands, if you reboot your raspberry pi, and continue working later:
source ~/.profile
workon cv
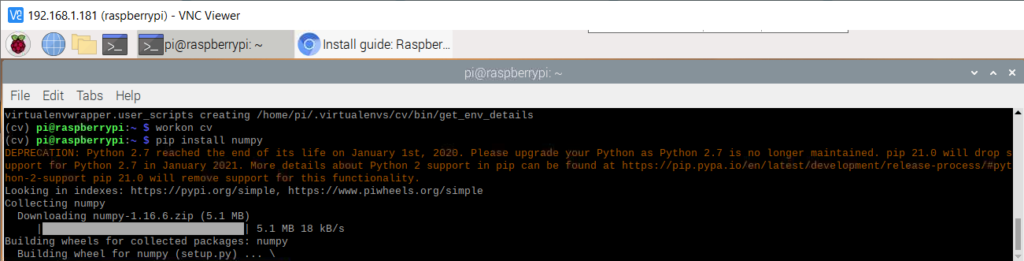
Then let’s continue and install numpy and opencv to the virtual enviroment:
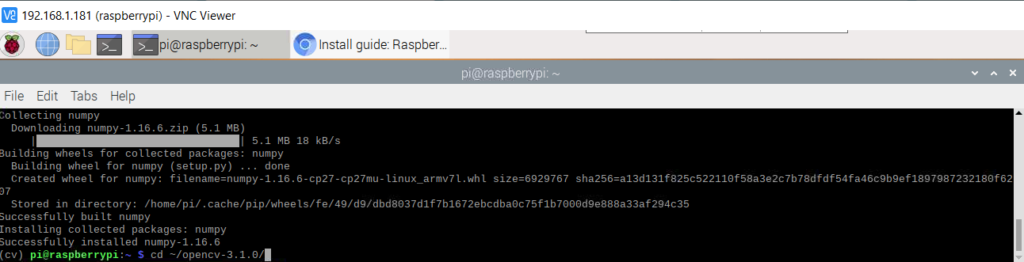
pip install numpy
Python 2.7 is getting old, so it would be a good idea to try moving towards using the newer Python 3. That’s recommended and to be tested in the future.
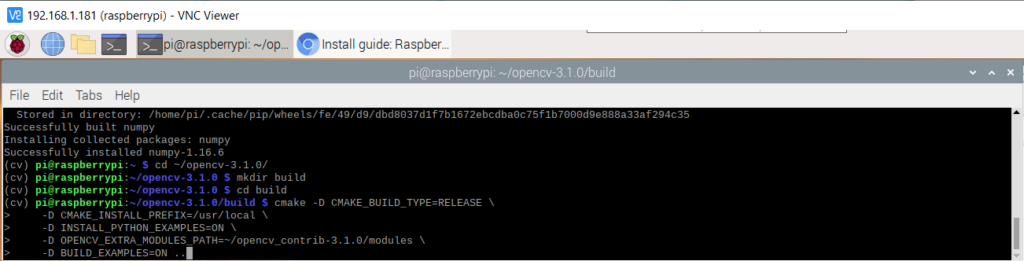
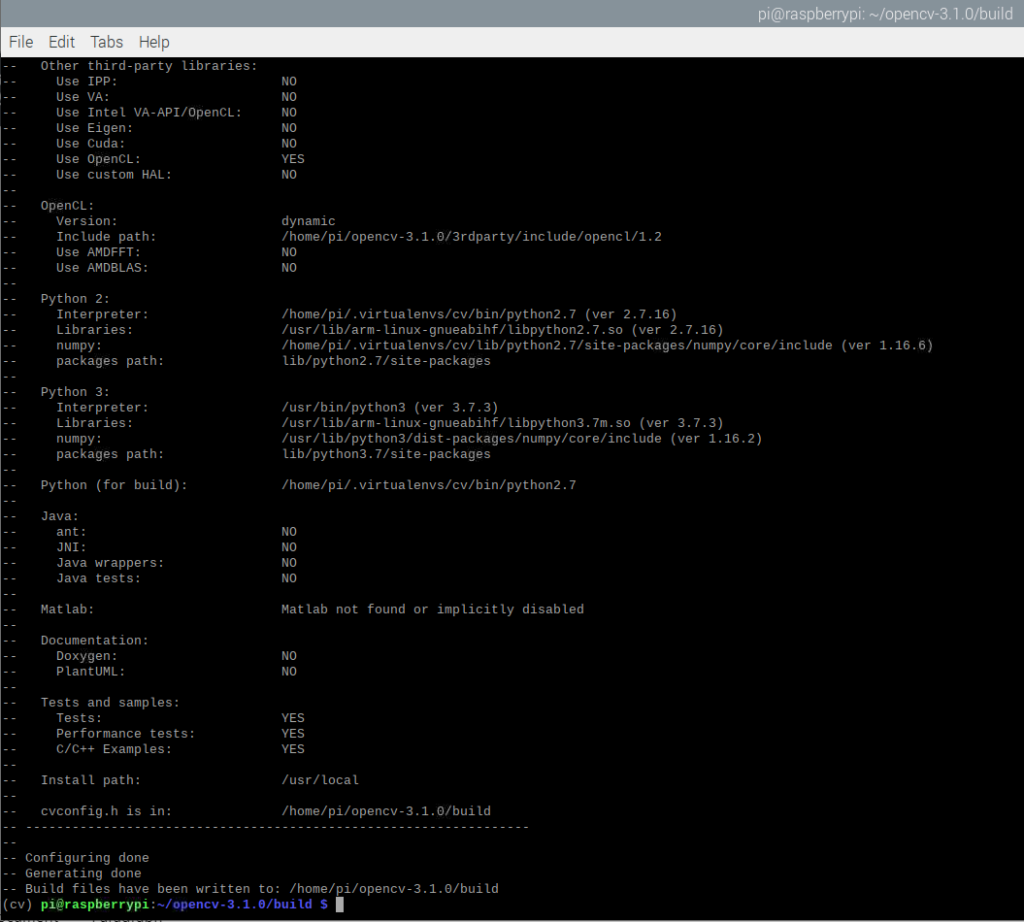
This will take some time, it is checking the build environment and parameters first, checking status before actual compile and install:
Then give the actual build command:
make -j4
Building should now start, it will take a lot of time, few hours maybe. So please be patient.
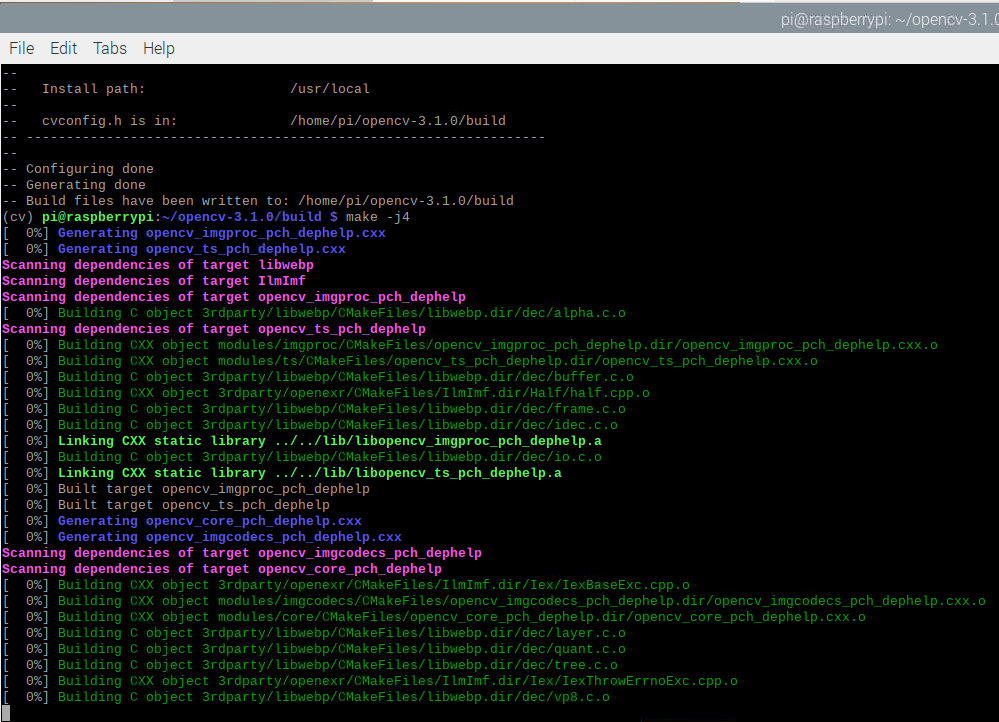
When compiling with the switch -j4, it means that is uses 4 CPU cores when doing the compiling. Use good enough power supply, when compiling. Do not try to use USB power or small mobile phone charger.
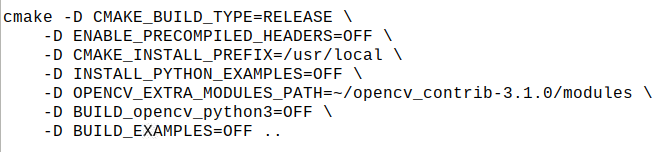
There is few configuration switches, which might need to be tested. So do not panic, if got errors. Just try again, until it goes through properly. Sometimes might need to delete the build directory, and recreate it, and try again.
I needed to use these, to make the compiling go through without errors: (When compiling to Python 2.7)
After compiling, still need to give few commands;
sudo make install
ldconfig
And then, add the symbolic link;
cd ~/.virtualenvs/cv/lib/python2.7/site-packages/
ln -s /usr/local/lib/python2.7/site-packages/cv2.so cv2.so
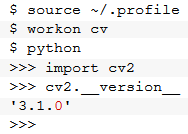
After that, it is good to test that it is possible to Import the cv2 succesfully.
Open a new terminal window and give commands:
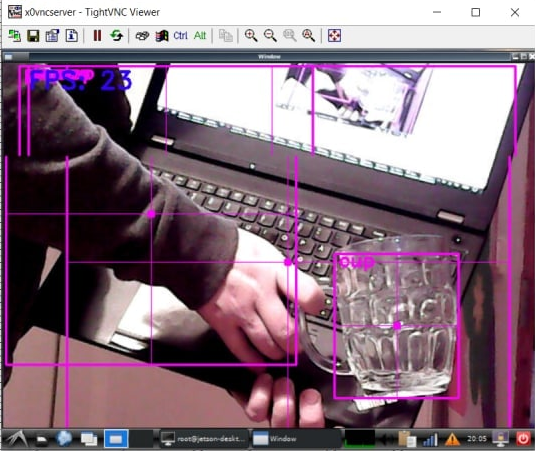
Now this means that OpenCV is installed properly for the Python 2.7, and it is possible to import the cv2 package and view the version info.
Now can start working with the OpenCV and use it on Raspberry Pi Camera projects.

