Today I tested coding the Raspberry Pico board with Thonny Python code editor program. Thonny can be installed to the Linux laptop easily with command; pip3 install thonny.
After it is installed, it can be started from the Linux terminal by giving command; thonny.
I usually do that as a root user, so it will have more access to the system, like the serial port, communicating to the Raspberry Pico board.
First thing to check, is to select the board type from the Options/Interpreter menu.

After board is selected, Raspberry Pico board should communicate to the Thonny editor. If not, the micropython might not be installed to the Pico. There is several guides in the Internet to do that. For example; https://learn.adafruit.com/getting-started-with-raspberry-pi-pico-circuitpython/circuitpython
Coding with the Thonny is similar as other code editors, you edit the code at the top area of editor. Then you can press the green arrow button, to launch the code to run on the Raspberry Pico board. If you need to stop the program, push the Red Stop button. At the bottom of the editor, is the MicroPython shell, where you can print stuff, like text and code variable values. It is very handy for testing the code. Also you can use the debugger, to run the code line by line.
Ultra sonic sensor testing
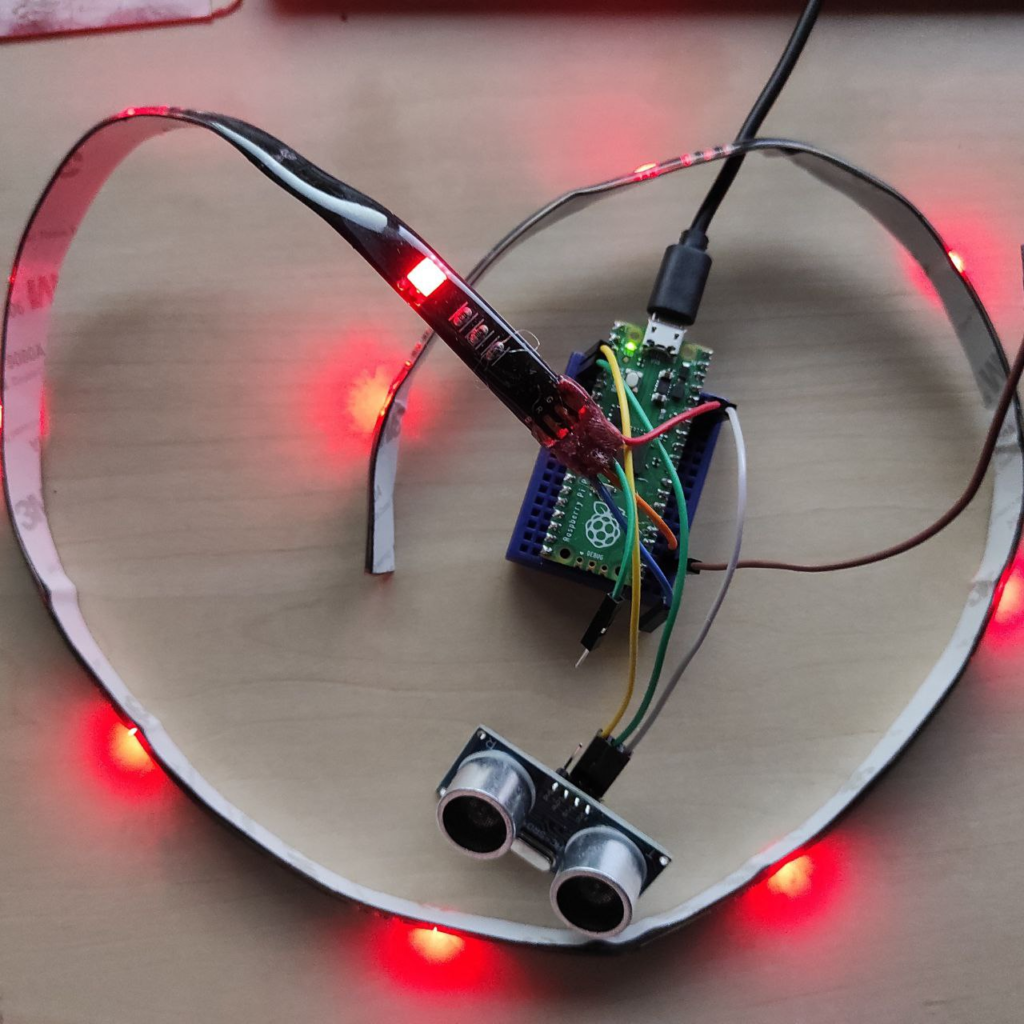
I added the Ultrasonic distance sensor and RGB Led Strip, to test the Micro Python coding on Raspberry Pico device. The idea would be to change the color of the LED strip, according to the measured distance.


Code was working and printing out the text to the shell, but the distance value was not working yet. I suspect that the reason for this is, that the Ultrasonic sensor does not work with the 3,3V voltage, but 5V should be used. I found some information of this from Internet, other people having same issue.
https://www.tomshardware.com/how-to/raspberry-pi-pico-ultrasonic-sensor
So in order to fix this issue, VBUS-pin needs to be used for taking power supply to the sensor. Then you need to use some resistors to make the returning “Echo” signal voltage smaller for the Pico Input pin. Then it should work, and Raspberry Pico able to measure the distance values with the Ultrasonic sensor.

Finally, this worked! Ultrasonic distance sensor started to give values better, after 5V DC supply was used.

Now next we can try to modify the LED color, according to the distance, Green, Blue and to RED, when distance is low. That could be used for example in the garage to show the car distance to the wall. But let’s try to do that later and make a new post of that test.